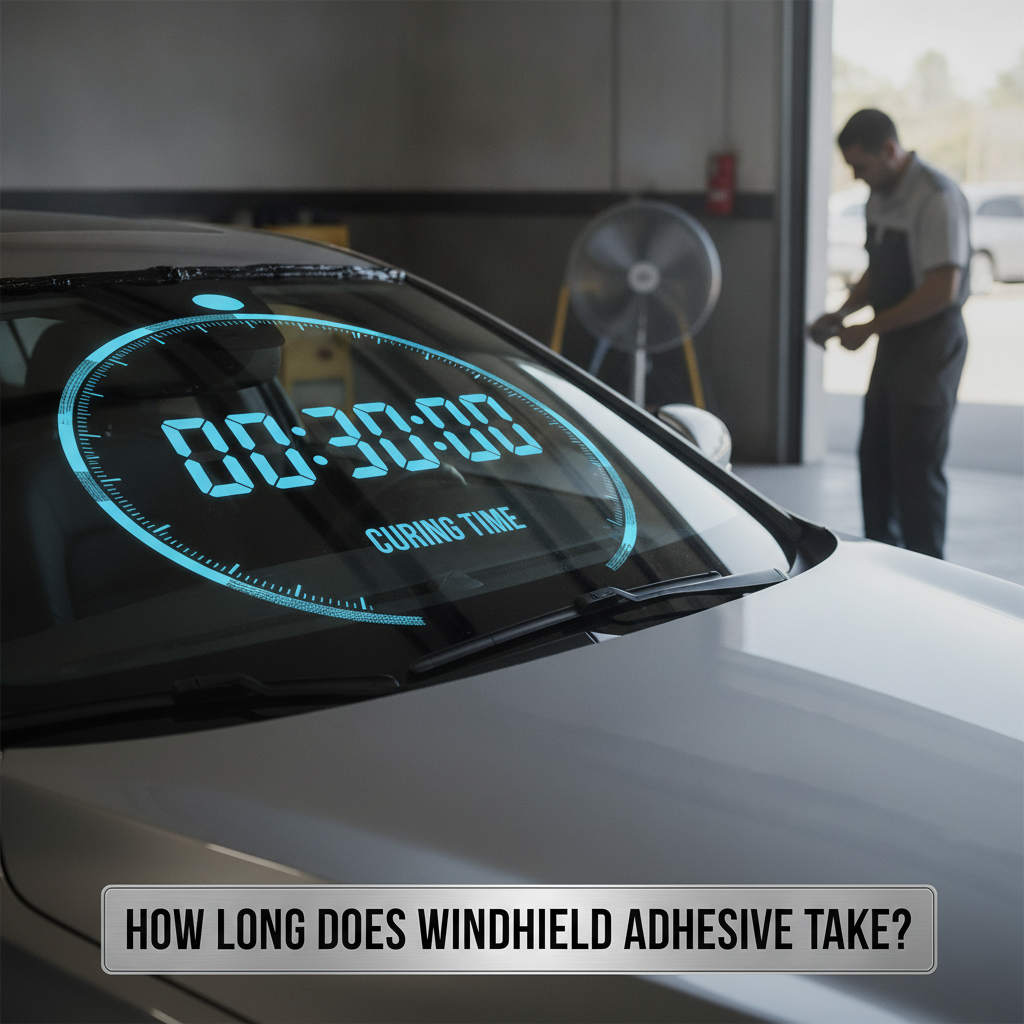
After windshield replacement, the safe drive-away time (SDAT) ranges from 1 to 24 hours, depending on the adhesive type used by your auto glass installer. According to the Auto Glass Safety Council (AGSC), fast-cure urethane adhesives allow driving after 1-2 hours, while standard-cure polyurethane adhesives require 8-24 hours before the vehicle achieves sufficient bonding strength for safe operation.
Before You Begin: Prerequisites for Understanding Windshield Adhesive Curing

Required Knowledge:
- Your vehicle’s OEM specifications for windshield replacement
- Type of urethane sealant used (fast-cure vs. standard-cure adhesive)
- Current environmental conditions (temperature and humidity)
- Federal Motor Vehicle Safety Standard (FMVSS 212) compliance requirements
Important Safety Note: The windshield provides 30-60% of the vehicle’s structural integrity during rollover protection and supports proper airbag deployment. Driving before minimum cure time compromises these critical safety restraint systems.
Understanding Windshield Adhesive Types and Their Cure Times

Modern automotive glass installations use two primary polyurethane bond types. Standard-cure windshield adhesive, used by companies like Pilkington and Safelite, requires moisture-activated curing that takes 8-24 hours to reach safe drive-away strength. This adhesive application provides optimal tensile strength and long-term glass-to-frame bonding.
Fast-cure windshield adhesive contains accelerated cure agents from manufacturers like 3M, Dow Automotive, and Sika. These quick-set windshield glue formulations achieve minimum safe drive time in 1-2 hours under optimal curing conditions. According to the National Windshield Repair Association (NWRA), fast-cure adhesive maintains equivalent full cure time performance to standard products.
| Adhesive Type | Safe Drive-Away Time | Full Cure Time | Best Conditions |
|---|---|---|---|
| Standard-Cure Urethane | 8-24 hours | 72 hours | 50-80°F, 40-70% humidity |
| Fast-Cure Urethane | 1-2 hours | 24-48 hours | 60-85°F, 50-80% humidity |
| UV-Activated Adhesive | 30-60 minutes | 24 hours | Direct UV light exposure |
Step-by-Step Windshield Adhesive Curing Timeline
Step 1: Surface Preparation Phase (0-30 Minutes)
The glass technician cleans the laminated glass and pinchweld bonding area. Primer application on the windshield frame and vehicle’s cowl area ensures proper adhesion. The auto glass installer applies activator to the pinchweld to enhance moisture cure activation.
Step 2: Adhesive Application (30-45 Minutes)
The installer applies a continuous urethane sealant bead pattern to the automotive glass perimeter. Professional windshield mounting adhesive creates a consistent bond between the windshield and A-pillar structure. Some installations use butyl tape as supplementary windshield seal support.
Step 3: Initial Cure Period (1-2 Hours)
Fast-cure windshield adhesive reaches minimum structural bonding during this phase. The adhesive hardening time allows limited vehicle movement. According to Department of Transportation (DOT) guidelines, this represents the absolute minimum safe drive-away period for express windshield installation using quick-cure formulations.
Step 4: Partial Cure Phase (2-8 Hours)
Standard-cure windshield adhesive achieves partial cure during this windshield glue drying time. The urethane curing process continues as moisture-activated adhesive molecules cross-link. Temperature-dependent curing accelerates in warm conditions (above 70°F).
Step 5: Safe Drive-Away Threshold (8-24 Hours)
Standard polyurethane adhesive set time reaches safe drive-away strength. The auto glass bonding agent provides sufficient windshield bonding strength for normal driving conditions. Professional auto glass replacement services recommend keeping the car stationary until this windshield installation wait time completes.
Step 6: Full Cure Achievement (24-72 Hours)
Complete structural adhesive application strength develops during the windshield adhesive cure time final phase. The urethane bond timeline reaches 100% tensile strength, ensuring optimal crash worthiness adhesive performance and airbag safety compliance.
Environmental Factors Affecting Windshield Adhesive Curing
Temperature Impact on Cure Rate
Cold weather extends the adhesive curing period significantly. Winter windshield installation cure time can double when temperatures drop below 50°F. Conversely, summer windshield adhesive demonstrates faster cure time, with humidity-accelerated cure reducing wait times by 20-30%. The urethane cure rate increases approximately 50% for every 10°F temperature rise between 60-80°F.
Humidity and Moisture Effects
Polyurethane windshield adhesive requires moisture for proper curing. Optimal humidity levels (40-70%) support consistent humidity cure activation. Rainy day windshield replacement actually benefits from increased environmental moisture, potentially reducing the windshield sealant cure duration by several hours.
UV Light and Accelerated Curing
UV-activated adhesive uses ultraviolet curing to achieve one hour windshield adhesive cure time. Direct sunlight exposure can reduce standard adhesive setting period by 15-25% compared to indoor curing. However, excessive heat above 90°F may cause uneven curing.
Troubleshooting Common Windshield Adhesive Curing Issues
If adhesive appears uncured after recommended time: Check environmental conditions. Temperatures below 50°F require extended waiting periods. Contact your installer if bonding strength seems inadequate after 24 hours.
If you must drive before minimum cure time: Avoid highway speeds, rough roads, and door slamming. Do not drive through car wash facilities. Limit speed to under 35 mph for the first hour after installation.
If windshield shows air bubbles or gaps: This indicates improper bead application or contaminated surface preparation. Return to the glass retention system installer immediately, as this compromises vehicle safety standards.
If adhesive manufacturer guidelines conflict with installer recommendations: Always follow the longer wait time. OEM cure specifications and industry standard cure time requirements prioritize safety over convenience.
Safety Compliance and Industry Standards
Federal Motor Vehicle Safety Standard FMVSS 212 mandates minimum windshield retention requirements during crashes. The Original Equipment Manufacturer (OEM) specifications define adhesive weather resistance and structural integrity windshield adhesive cure period requirements. Professional installations include installation warranty coverage and service guarantee documentation that specify safe to drive after windshield replacement time.
For more information about auto glass replacement procedures, visit our guide on individual auto glass replacement options.
Next Steps After Windshield Replacement
First 24 Hours: Keep windows slightly open to allow humidity cure activation. Avoid automatic car washes and aggressive door closing. Do not place stress on dashboard or A-pillar areas.
24-72 Hours: Resume normal driving but avoid bumpy roads after new windshield installation. The complete cure process continues developing maximum bonding time strength.
After Full Cure: The windshield achieves full structural bonding and airbag safety integration. Schedule quality assurance inspection per technician guidelines if your installation included this best practices service.
Long-Term Care: Follow OEM requirements for maintenance. Most adhesive manufacturers guarantee auto glass cement performance for the vehicle’s lifetime when proper replacement procedure and installation method protocols are followed.