Before You Begin: Prerequisites Checklist
Confirm these five items before you get back in the driver’s seat. Each takes less than a minute and can save you from a comeback repair or a weak bond in a crash.-
- Adhesive type: Ask which urethane adhesive was used and its rated drive-away time. Photograph the product label if you can.
-
- Drive-away time in writing: Ask for the exact minimum drive-away time on your invoice or work order. Shops that follow the industry safety standard record this along with the temperature and humidity at installation.
-
- Weather conditions: Note the temperature and humidity when the glass was installed. Both affect how fast the adhesive cures.
-
- Parking plan: Arrange to leave the vehicle parked and undisturbed until the drive-away time has passed.
-
- Technician training: Ask whether the installer is certified through the Auto Glass Safety Council (AGSC) or follows its replacement safety standard.
Step 1: Confirm the Urethane Adhesive and Its Cure Time
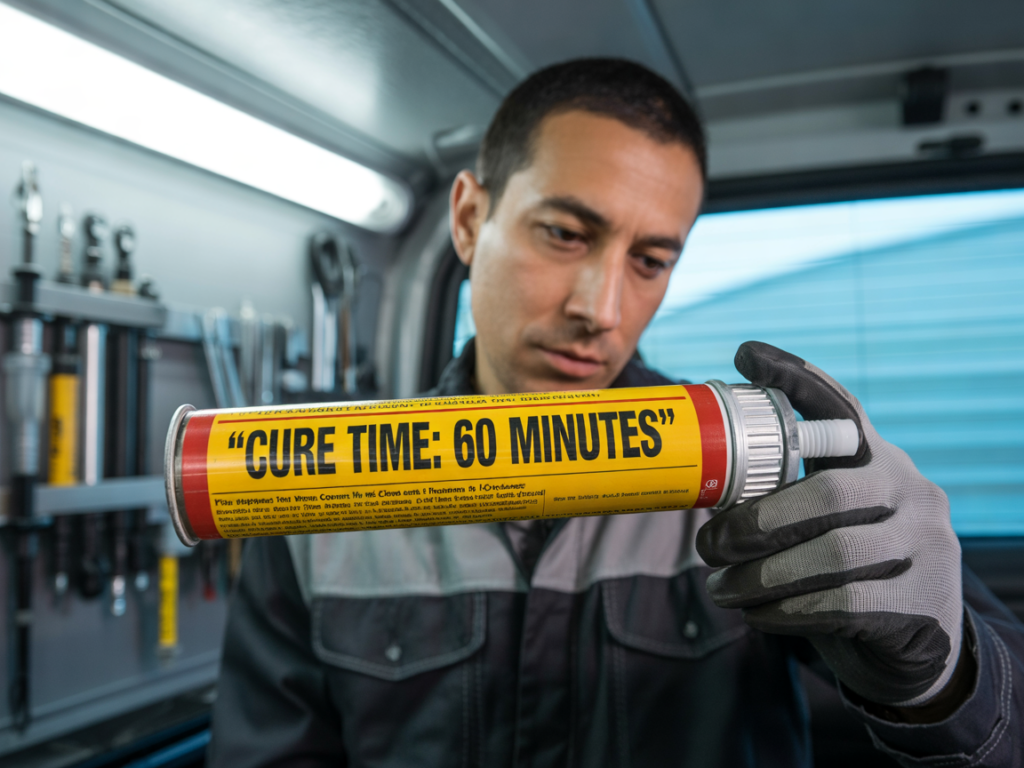 Urethane adhesive is what bonds the windshield to your vehicle’s frame. In a crash, this bond, not the glass alone, keeps the windshield in place and gives the passenger airbag something to push against. Fast-cure urethanes can reach drive-away strength in as little as 30 minutes, while standard-cure products may need up to 8 hours. Two identical windshields installed with different adhesives can have very different wait times.
1.1: Ask for the Product Name
Ask your technician for the exact product name, such as a Betaseal, SikaTack, or 3M auto glass urethane. Each manufacturer publishes drive-away times based on lab and crash testing.1.2: Check the Manufacturer’s Drive-Away Chart
Adhesive manufacturers publish drive-away charts that list wait times at different temperatures and humidity levels. Searching “[product name] drive-away time” usually brings up the technical data sheet, so you can confirm your technician’s estimate.Step 2: Understand How Weather Affects Curing
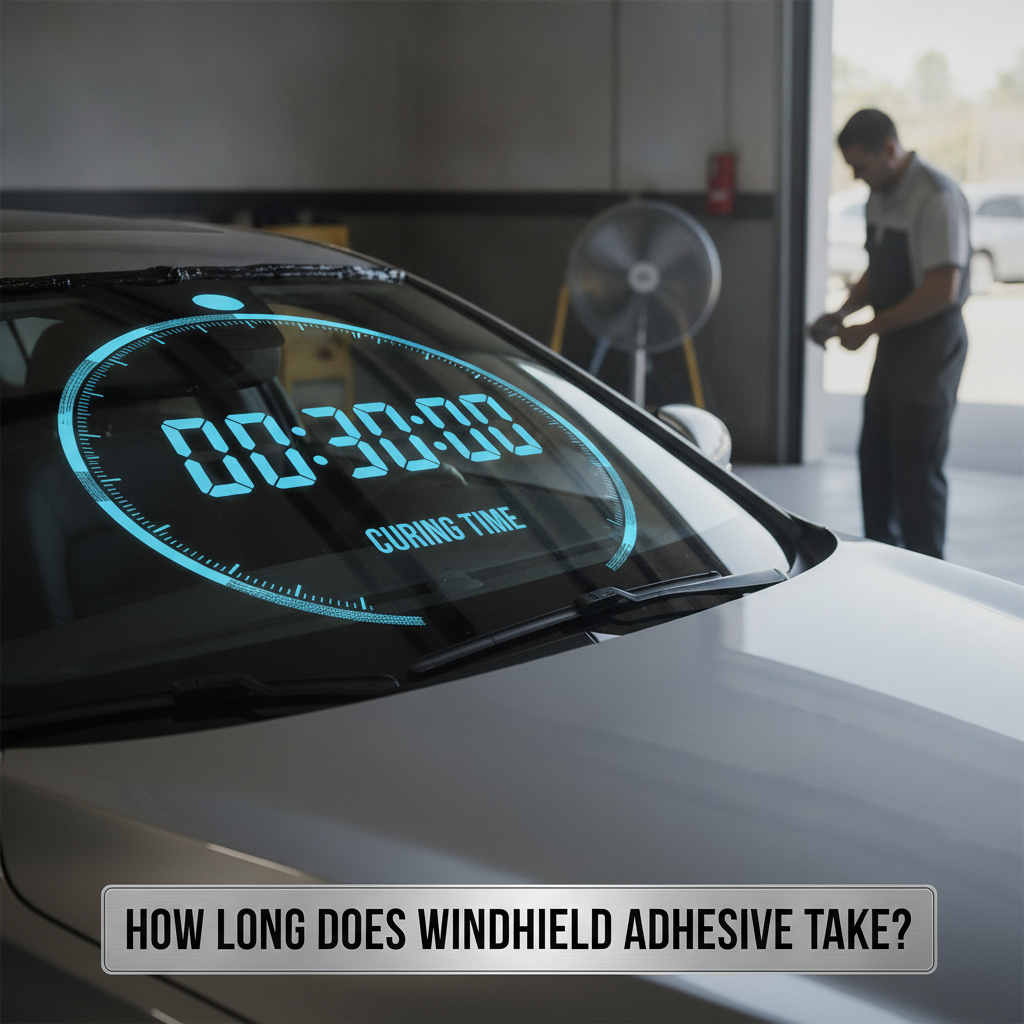
Most auto glass urethanes are moisture-curing, which means they harden by reacting with moisture in the air. Warmth speeds that reaction up. As a result, cold and dry conditions slow curing the most, while warm, humid conditions speed it up.Typical Drive-Away Times by Conditions
| Conditions | Typical Minimum Drive-Away Time |
|---|---|
| Warm (70°F–90°F) with moderate to high humidity | 30 minutes–1 hour (fast-cure products) |
| Mild (50°F–69°F) with moderate humidity | 1–3 hours |
| Cool (32°F–49°F) or very dry air | 3–6 hours |
| Below freezing | 6–8 hours or longer; some products aren’t rated for these conditions |
Step 3: Avoid Disturbing the Windshield Seal
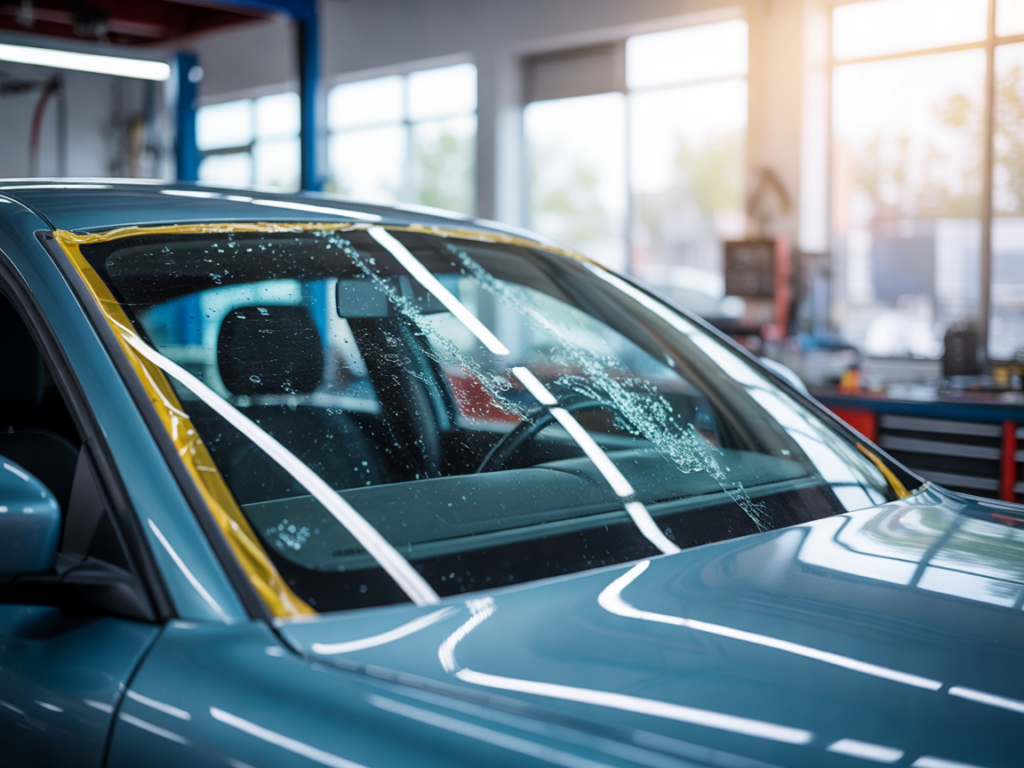
3.1: Leave a Window Cracked and Close Doors Gently
Slamming a door with all the windows closed creates a pressure spike inside the cabin that pushes on the fresh seal. For the first 24 hours, leave a window open about an inch and close doors gently.3.2: Leave the Retention Tape On
Many installers apply tape to keep the glass and trim in position while the adhesive sets. Leave it on for at least 24 hours, or as long as your technician instructs. Removing it early can let the glass or molding shift slightly and create a leak path.3.3: Wait Before Washing Your Car
Wait at least 48 hours before going through a car wash, or longer if your installer recommends it. High-pressure water and brushes can stress the seal before it fully sets. If you need to clean the car sooner, a gentle hand wash after 24 hours is safer.Step 4: Check Your Wipers and Rain Sensor
Wipers and rain sensors are often removed and reinstalled during a windshield replacement, so check them before highway driving.4.1: Test the Wipers
Run the wipers briefly to make sure they’re attached correctly and that no adhesive residue blocks the blades. Grinding or skipping can mean a wiper arm is misaligned.4.2: Check the Rain Sensor
Rain sensors near the rearview mirror attach to the glass with a gel pad. If your automatic wipers act erratically or don’t respond to rain in the first week, return to the shop. An air bubble under the gel pad is a common cause.Step 5: Confirm ADAS Calibration Is Complete
Many newer vehicles use cameras mounted behind the windshield for advanced driver assistance systems (ADAS), such as lane-keeping assist and automatic emergency braking. A new windshield can shift the camera’s view slightly, so most vehicles with these cameras need recalibration after a replacement.5.1: Ask Which Calibration Was Done
Static calibration is done in the shop using targets placed at set distances from the vehicle. Dynamic calibration is done by driving the vehicle at specific speeds on well-marked roads so the system can adjust itself. Some vehicles require both.5.2: Get Calibration Documentation
Ask for written confirmation, usually a printout from the calibration equipment, showing the system meets the vehicle manufacturer’s specifications. Keep it with your replacement invoice.Step 6: Take a Short, Low-Speed Test Drive
Once your drive-away time has passed, start with a short drive on local streets before getting on the highway.6.1: Stay Under 40 MPH at First
A 10- to 15-minute drive at lower speeds is usually enough to spot problems while putting less wind pressure on the new seal.6.2: Listen for Whistling or Wind Noise
New wind noise, especially noise that changes with speed or comes from one side, can point to a gap in the seal. Note where it comes from so your technician can find it faster.6.3: Check for Leaks
Look along the interior trim and dashboard edges for water drops. If it hasn’t rained, you can run a garden hose gently over the top of the windshield and check inside for leaks, but only after the drive-away time has passed.Step 7: Wait Before Highway Driving
Highway speeds put far more wind load and vibration on the windshield than city streets. Even if your local test drive felt fine, follow your installer’s guidance before sustained highway driving, and avoid long trips on the same day in cold weather. For specific advice on when to drive after windshield replacement for your vehicle and local weather, talk to your auto glass installer.Drive-Away Time Quick Reference
| Scenario | Typical Wait |
|---|---|
| Fast-cure urethane, warm weather, in-shop installation | 30–60 minutes |
| Standard urethane, mild weather | 1–3 hours |
| Mobile installation on a cold or dry day | 4–8 hours |
| Below-freezing temperatures | Follow the installer’s written time; may be longer than 8 hours |
Troubleshooting Common Problems After Installation
-
- Whistling at highway speed: The seal may have a gap. Return to your installer. Most reputable shops fix workmanship issues free of charge under their warranty.
-
- Moisture inside the cabin: A leak usually means the seal wasn’t completed properly. Contact your installer right away. Ignoring it can lead to mold, damaged electronics, and rust along the frame where the glass sits.
-
- ADAS warning lights: Lane-departure or collision-warning alerts, or a driver-assist fault message, usually mean calibration needs to be redone. Go back to the shop before relying on these features.
-
- Glass looks shifted or uneven: Visible gaps along the molding or a windshield that sits off-center are red flags. Stop driving and return to the shop.
-
- Tape residue after removal: Use isopropyl alcohol on a soft cloth. Avoid razor blades or metal scrapers near the glass edge.
-
- Unsure the adhesive has cured: Don’t press on the glass to test it. Call your installer and confirm the drive-away time based on the adhesive and conditions they recorded.
Windshield Repair vs. Replacement: Why Wait Times Differ
A chip repair uses resin cured with UV light and is usually done in about 30 minutes, with no extended drive-away wait. A full replacement depends on urethane reaching drive-away strength, so it takes longer. As a general guide, chips and short cracks outside the driver’s line of sight can often be repaired. Longer cracks or damage in your direct view usually need replacement.Insurance and Warranty Tips
Keep your invoice, which should list the technician, adhesive brand, installation date, and drive-away time. Many installer warranties cover leaks and workmanship issues, and that paperwork helps if you need to make a claim. Take a photo of the invoice as a digital backup.Long-Term Windshield Care
-
- Ask your installer whether they offer a follow-up check about a week after installation.
-
- Avoid sudden temperature changes, such as pouring hot water on an icy windshield, especially in the first week.
-
- Keep records of your glass type (OEM or aftermarket), adhesive brand, and drive-away time.
-
- Watch how your driver-assist features behave over the first month, and report anything unusual to your installer.
-
- Recheck your wipers and rain sensor after the first heavy rain.